Each month the popular UK web design magazine ‘Net’ feature a big question, this month (issue273) the question is: ‘How do you design a logo?’. I’m super excited (and proud!!) to be included in this, along with a handful of known graphic designers including Graham Smith, Louise Fili, Cindy Vriend, Laura Bohill, Zack Davenport and Jacob Cass.
I was invited a few months back, and was asked to contribute an 80-100 word answer to the big question “How do you design logos, and when do you know they’re finished”
I’ll be honest… It’s such an insanely big question, one that I could write an entire book about (I’m working on it!), so minimising this down to into a measly 100 words was a challenge. To simplify my answer, I picked out the essential features of my logo design process, and this is what I came up with:
“I start by creating goals based around the business, such as mission/vision, target market and competition. I can then perform focused research and make design choices to meet these goals. I sketch and explore ideas, then select the best to take further into illustrator. I work on a design, taking copies to further refine, simplify and perfect the concept. It’s important to have time away from your designs before completion so you can polish them with a fresh pair of eyes. You know the designs are complete when they meet the initial goals and no further refinements are needed.”
I do feel my response is quite vague, so I’m taking this as an opportunity to expand on my answer…
How I design a logo
Step 1: Creating Goals (the design brief)
My first step is to work closely with the client to create a list of goals which the final design should meet. I do this by asking questions, so I understand as much as I can about the company, its competition and target audience. This acts as my project brief, which I ask the client to approve before I start working on any logo designs. I make sure the client understands that I will use this list as a guide for the design process and that I will also refer back to it during the final presentation to justify my decisions. That means this part is immensely important to get right, both for me and the client.
Step 2: Sketching & Exploring Ideas
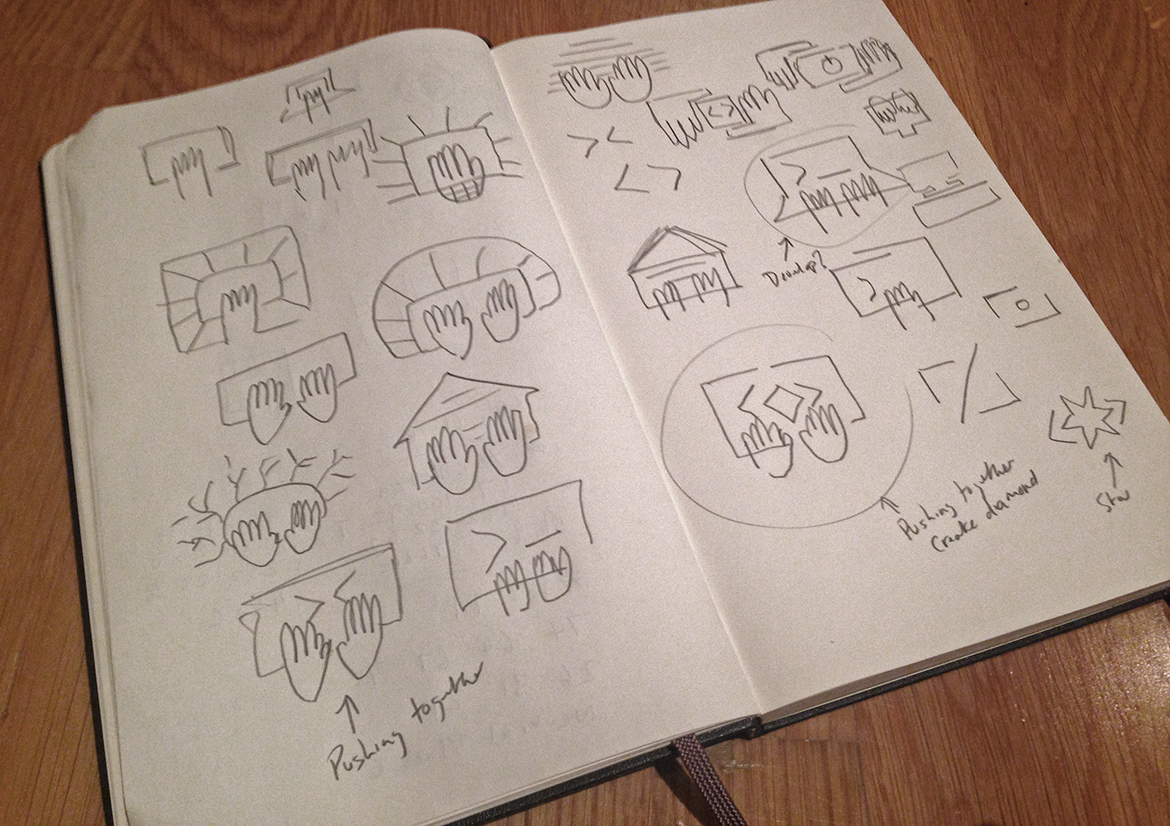
At this stage, I open up my sketchbook, grab a pencil, and I start to explore ideas that I feel will meet the goals. I literately put down any idea that I can think of, even if the idea seems weak – as a bad idea can always trigger a better one, and keeps my mind focussed on seeking alternative solutions. If needed, I’ll carry out further research, which often sparks excitement, and allows for a whole new direction of ideas.
This stage can also include word mapping, so I can track any obvious associations which may trigger visual design ideas I could explore. I draw each idea quickly, and work organically, hopping between different concepts. I’ll work this way for several hours (sometimes across a few days), until I have a number of very solid ideas I can take further.
Step 3: Working in Adobe Illustrator
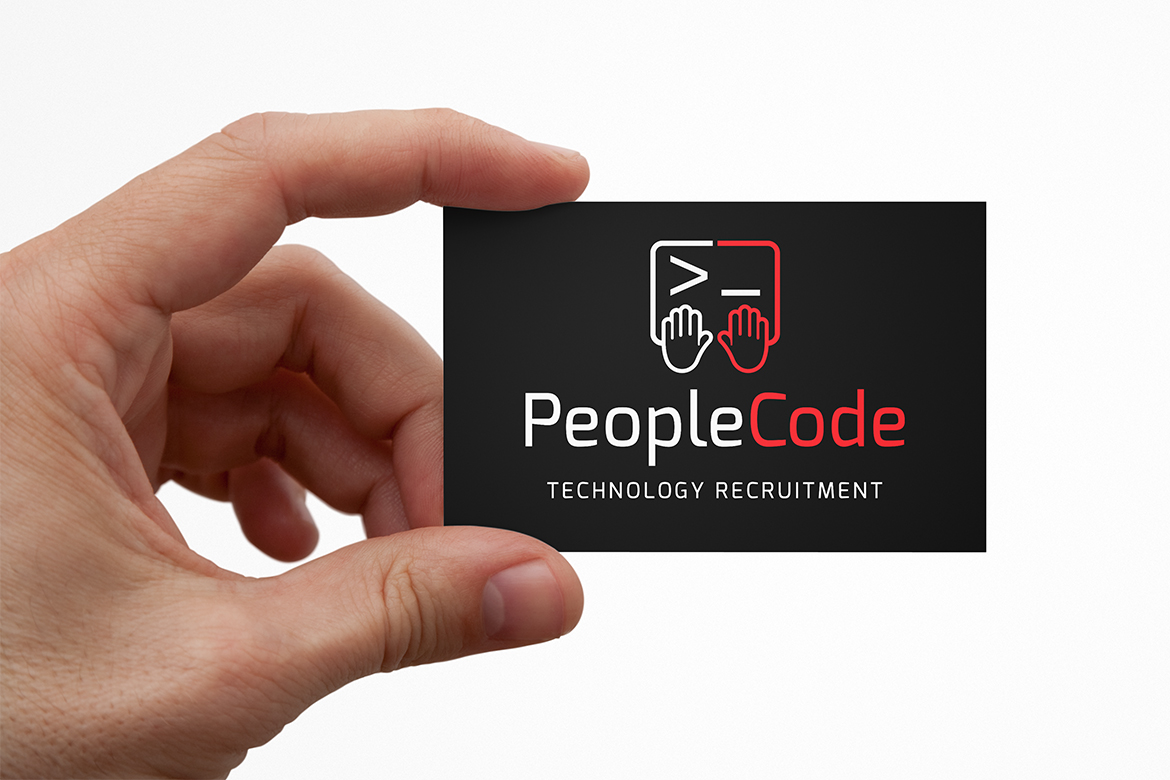
Once I have a clear direction, I use adobe illustrator (a vector based image software) to take the designs to the next level. I draw the design without colour, focusing on form and composition. Once I feel a design is working, I will take a copy and rework the design a few times, seeing how I can refine, simplify and improve the design. The most successful logo designs are simple and focus on a single idea, so I’m always looking for the optimal solution (read my blog SMART logo design principles for details on this approach). You can see an example of the ‘copy and improve’ method I use in the example below for the logo I designed for People Code.
Once designs are complete I will start to apply colour, referring back to the goals to see how I can further enhance meaning, as well as make the design stand out from its competition, and attract the desired target audience.
Step 4: Knowing when the designs complete
I typically work up a number of different designs, and before presenting them to the client I refer back to the goals to ensure what I have created is right. I’ll then test the design in situ, just to be certain it’s perfect! This is when I know the design is complete and ready to present.
I write notes to justify my design decisions which will help me to ‘sell’ the designs during the presentation and encourage the client to focus on business strategy and goals, rather than making a personal judgement based on aesthetics.
I mentioned in my response to Net Magazine that I also include an incubation period as part of my design process so that I can see the logos I’ve designed with a fresh pair of eyes. I can’t stress the importance of this step… It’s so easy to get fixated on a design and think it’s the most amazing thing ever, but as you’re so close to it you can easily miss glaringly obvious errors you can only see with time away. Every time I have done this, I have almost always tweaked the design in some form, which has always improved the final design for a strong brand mark. I know not everyone has the luxury of time, but I always try to include this and encourage others to do the same. It’s better to have a logo be perfect from day one than it haunting you the rest of your creative career (and life)…
I hope that this advice helps other designers improve, but if you do have any questions feel free to send me an email, or reach out to me on twitter. I’m always happy to help.


