I recently carried out a survey for the Logo Geek twitter community so I could find out what designers biggest struggles are. I discovered from this research that presenting logo designs was the most popular topic that people want to know more about. Because of that I’ve put this blog post together to explain how I present my own designs, which I hope readers will learn from.
If you’re anything like me, when it comes around to presenting your work despite knowing you’ve done your best, you feel anxious and insecure before showing anything. Waiting for and almost expecting instant rejection from the client… I picture them red with anger, tearing up my work, and demanding changes that will ruin my hard work… (even after 10 years of experience…)
Thankfully that never happens to me in reality. I’m always prepared and have a process that ensures that the presentation part of my process goes as well as possible. In most cases, my designs are agreed the first time, or I come away with constructive feedback that makes the designs better. Phew!
I’ve learned through experience that how you present your design work is as important, if not more, than the physical design phase.
I wouldn’t say I’m a master at this – in fact, I’m always learning and refining my process, however, I think my advice here will help others.
Firstly: How not to present
The best way to get better at something is to screw up… I’ve done this many times, and (try to) learn from my experiences. I’ve had clients treat me like a puppet and I watch as they use me to ruin my beautiful designs! Now, however, I know it was actually my fault as I was presenting in the wrong way…
In my day job at a web agency I’ve seen new people make the same mistakes as I did, so I introduced a short training session with new designers and Account Managers to help fix the problem. As part of this session, I briefly explain how to present design. Using a stapler as an example (normally because there is one on my desk), then I present it to them in two ways.
Presentation approach one…
Firstly I put the stapler down on the table, tell them that I’ve designed a stapler for them as requested, and then ask “what do you think?”.
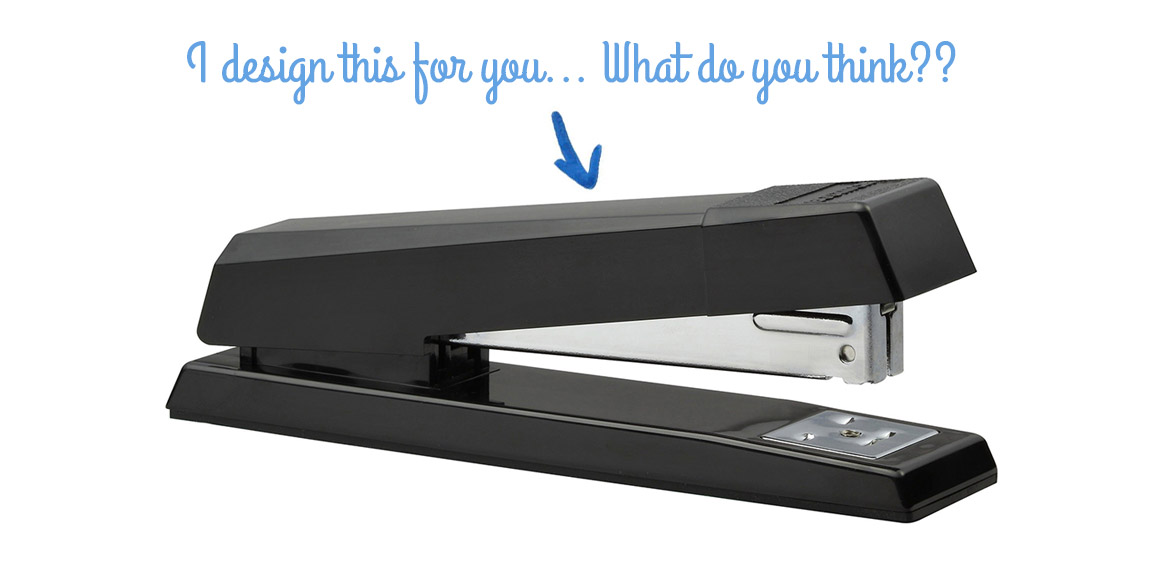
People will often pick up the stapler looking for problems, looking for things they don’t like. They will then start suggesting ideas of their own based on personal preference.
Asking ‘what do you think?’ is presentation killer – avoid it!
Asking ‘what do you think?’ is a question that can cause big problems, and is sadly the first question most people ask when presenting designs to anyone. Remove it from your vocabulary – asking this question will cause a slippery slide where you will lose all control of the designs, and see your identity work ruined. It doesn’t matter what they think!
Let’s present the stapler again…
This time I talk through the features based on goals. I explain that it’s easy to hold in one hand, that it’s effortless to staple 20 sheets of paper, that it’s easy to reload and that it’s designed to be easily manufactured at a low cost per unit.
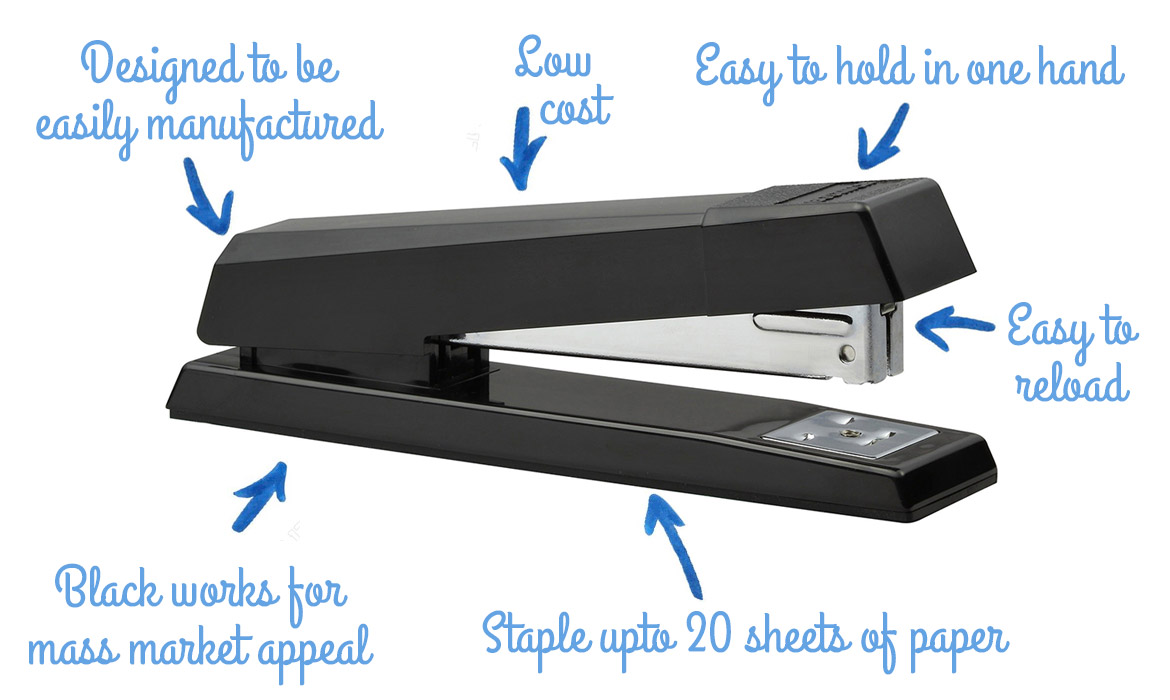
I then ask “do you agree that this meets the goals we agreed upon?”. This often results in a very clear yes. This approach also sets a tone for feedback – if for whatever reason it fails in any way to meet goals you will get constructive feedback that will help you to find an alternative (often better) solution. It also means you remain in control of the design.
That’s a massive difference. The first approach means you come away with a list of changes, yet the second you come away with an agreed logo design…
Let’s talk now about how we can apply this approach to a real world identity design project.
Start with a clear design brief
Always start with a detailed design brief. If the client doesn’t provide you with one, create your own by asking the right questions. Once you have created the brief, get the client to approve this before starting anything.
As part of my logo design process, I create a tick-list of objectives by asking questions. I then ask the client to check and approve these, adding any specific expectations they have. This approach ensures that both the client and I are on the same page from the outset, and creates a framework for presenting the designs later on in the process.
For more details on creating a design brief take a look at my previous blog post: A designer’s guide to creating a logo design brief.
Design with the goals in mind
Graphic design is a visual approach to problem solving.
It’s easy to design a logo that looks good but to present well and get the clients approval you need to be solving problems and thinking about the visual solutions that meet strategic goals.
In the case of brand identity design, this refers to targeting the correct audience, representing the company and its brand correctly and competing with direct competitors. By having goals it allows you to perform focused research, and make justified design decisions.
Review your work against the goals, and ensure you’re able to justify every design decision made.
Present with real life examples
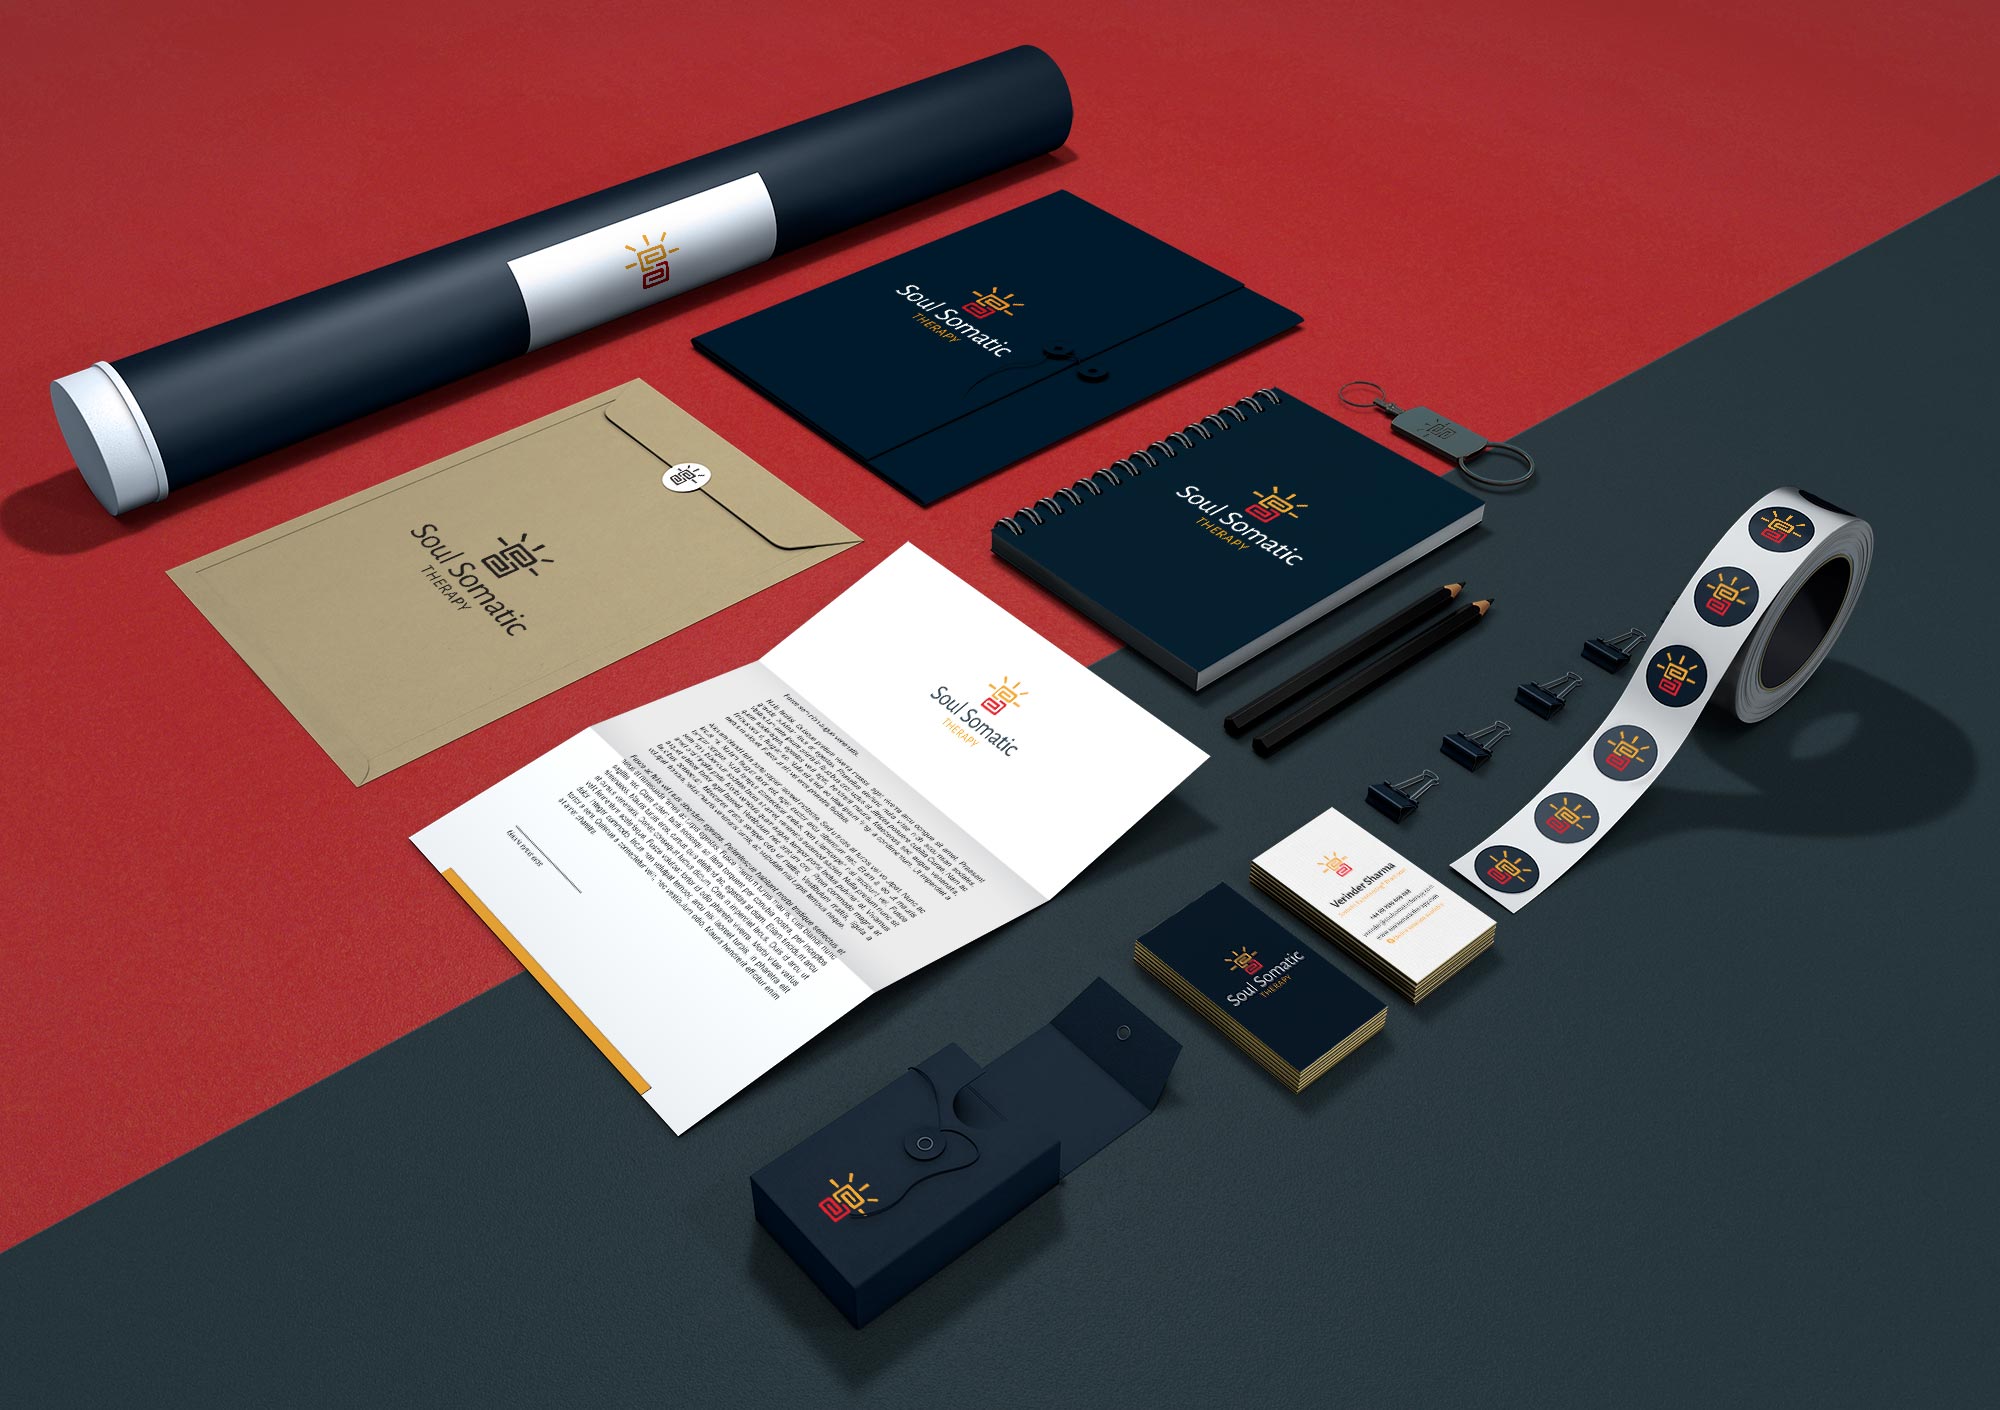
When was the last time you’ve seen a company logo printed on a plain white piece of paper? Hardly ever I imagine. People are most likely to only ever see a logo used in real life situations: on a shop exterior, on a product, pen, bag, literature etc. So this is how you should present the identity you have designed. Here’s an example image from my own portfolio…
![]()
Don’t panic. This doesn’t mean that you need to spend money on printing your logo on real items to test it (although that would be cool if the budget was there!). Instead, you can emulate this using tools available to you. The above example was created easily on a computer, and it helped in a huge by allowing my client to visualise the potential of the new logo, and to get excited about it too.
You can make your own mockup layouts from scratch using your own photos, however, there are some good pre-built solutions out there that will speed things up. Let’s take a look at the options I’ve used myself…
Use LiveSurface – An Illustrator plugin
To present my designs I typically use a plugin for Adobe Illustrator called LiveSurface. That’s how I made the shop exterior image shown above.
LiveSurface is a Mac application that integrates directly into Illustrator, enabling you to visualise your design ideas in the real world without leaving the illustrator interface. There is a small monthly fee, but the method is so quick and easy I’ve made it my go-to application for this purpose.
Use PSD Branding Mockups
There are a number of companies and designers out there that create Photoshop mockups of branding material that you can easily buy to apply your design work too. Here’s an example:
Most of these templates use smart objects, meaning you can easily swap out the content of the object and have it automatically be applied to the image with all the required effects already applied. Just search google for PSD branding mockups and you’ll find loads of examples… Click here to see a nice list of branding mockup freebies I found by doing just that!
Use Royalty Free images and Photoshop
Royalty free image websites like iStock Photo have a nice range of blank branding images perfect for applying your design to. You’ll need to use Photoshop to manually insert and distort your artwork, which is a bit more time consuming than the above options, but the results can be just as impressive.
Prepare slides with notes
For the presentation and unveil of the logo designs I create a document that I can use to structure the discussion.
I design the document using InDesign and export as a PDF as it’s easy to send via email and I can ensure the design looks good on all computers (PowerPoint in comparison can be a little unpredictable from computer to computer).
I have seen others do their presentation as web pages which has the same desired result, with the advantage that you can make quick changes and can control the access too.
During the presentation stage, I will present between 3 and 5 logo designs. Each logo design is then featured on its own page in full colour. At the bottom right, I include a small single colour version to demonstrate how the design works effectively at small sizes and in a single colour. I also include a few pages with images showing the logo in real life use. The purpose of these is to help the client visualise how the logo can be used.
With every design, I include notes that explain the how design decisions meet the agreed upon goals. Although I will explain these during the presentation I include these within the document should the client wish to discuss the design work with anyone else following the call.
At the back of this document, I include a page showing all designs in a single view. This allows me to present each option separately, then end the presentation with a discussion about the identity which is most suitable.
Once done I check over and spell check everything, then I’m ready for the presentation with the client!
The Big Logo Presentation!
In an ideal world, I would have a face-to-face meeting with the client. In my experience, however, my clients are miles away, or on the other side of the world, so this isn’t always possible. In these cases I arrange a telephone or Skype call, asking for the decision maker to be on the call.
It’s natural to think it’s ok to email over the presentation in advance, however, I’ve found this to be problematic. People are naturally curious, so will look through the designs, share them with friends and family, and before you’ve had a chance to discuss anything they will come back with a list of feedback – you’ve essentially lost control.
I recommend you send the presentation whilst on the call, or a few minutes before the call is scheduled (I use WeTransfer for this, sending it to myself, then writing an email including the download link to speed things up – there’s nothing worse than sitting and waiting for files to transfer…)
Whilst the file is being downloaded I like to set the scene. I remind the client of the objectives we agreed upon and explain that I will use this as a reference during the presentation. In person, I would give the client a printed copy to refer to.
At this stage, I also explain how I expect feedback. The reality is that nobody is ever taught how to give feedback, so if you don’t do this you can expect feedback to be given in a variety of ways. By doing this you remain in control and have done all you can to ensure feedback is structured and constructive.
Here’s how the conversation might go:
“All designs presented today have been created to fulfil the goals we agreed upon, so I will refer to these during the discussion. Can I ask that feedback is left until all designs have been presented – that way we can discuss them all together. I’d also like to encourage that feedback given is based on the goals. Don’t worry about working out the solution, instead, let me know what’s not right so I can find an alternative solution.”
It’s fair to expect some feedback during the presentation, especially if the client is impressed. Keep an eye on this and keep a mental note. Also keep an eye on non-verbal communication as you can get a lot from that. If they get carried away, remind them that you will have a more detailed discussion at the end of the presentation.
At the end of the presentation, we will be left with the single screen showcasing all designs discussed up to that point. At this stage you can discuss the options, referring to the goals discussed, encouraging the client to seek the most appropriate solution. I usually suggest at this point which one I believe is the most appropriate and why, but explain that all options are viable directions.
From time to time, the client may agree to a design at this point, and you can simply prepare the design files accordingly. Sometimes they may have constructive criticism meaning you can improve the design accordingly and schedule a second presentation call/meeting.
From time to time, the client may be difficult with feedback. Stay calm. Listen to what they have to say, as they know their business and audience better than you ever will. A valuable question I’ve found is to use ‘why?’ – try to understand the route of the problem so you can find a solution.
Design is a challenge, but taking this approach keeps you in charge of the design phase, and keeps the client focussed on goals rather than personal opinion.
If you use this advice let me know how you get on! Or if you have a better approach or suggestions for how I can make my design process better let me know. Send me an email or add me on twitter – I’d love to have a chat. Thanks for reading!